Below are the steps to add Board Portal access to a Resident Portal account and to update the Board Member information on the Management App.
- Open Jenark.
- Click Residential (on the lower left hand side), then Residential Property Management (in the upper left), then Property Information (in the upper right), and then Community Names (in the upper left).
- In the Entity field, type in the four-digit association code (you may also click the arrow to see a list of associations)
- Click Insert.
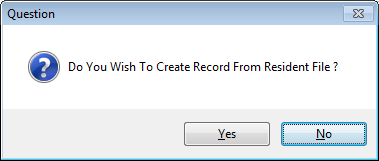
- In the Type column, enter BOD, then click the tab key on your keyboard.
- You will receive the below prompt. In most situations you will select Yes. You should only select No if the Board Member is not tied to a specific property address.
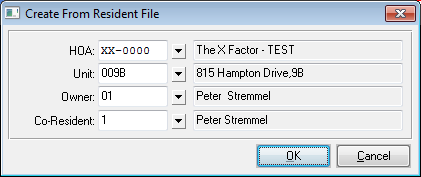
- Fill in the window to match their property information. Click OK.
- The Board Member’s information should now appear in the table on the Community Names table. If you selected “No” during Step 6, you will need to manually type in the First and Last Name.
- In the Position Information box, there are three fields that must be populated:
- Position
- Enter in their position on the Board (President, Member at Large, etc).
- Start Date
- Enter the start date of their term on the Board.
- End Date
- Enter the end date of their term on the Board.
- If there is no end date entered, they will not be given Board Portal access
- If “today” is outside of the Start/End date range, the Board Member will not have Board Portal access, so it is important to make sure this information is always up-to-date (especially when someone is re-elected or if an election is postponed).
- Position
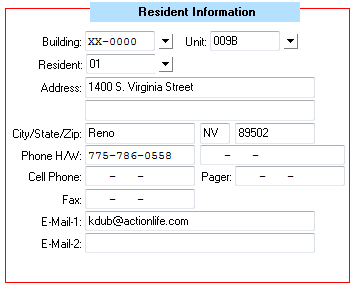
- In the Resident Information box, the only thing necessary for Board Portal access is for the E-Mail-1 field to match the email address that they have registered to their Resident Portal account.
- To verify that this information is correct, pull up their unit in the Management App.
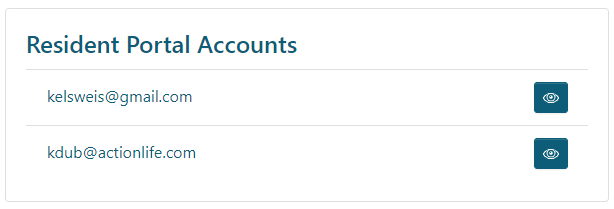
- On the Unit or Residents tab, look in the Resident Portal Accounts box
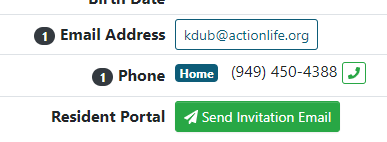
- If you do not see any email addresses in the Resident Portal Accounts box, click on their name under Residents in the Management App, make sure they have an email address, and then click Send Invitation Email (note, this button may say “Send Migration Email”, and if that’s the case, click that button).
- If you do not see the option to Send Invitation/Migration Email, they do not have an email address on file. Edit their information to have an email address. You will now see the option to send the email.
- After all of the information is up to date, click Save.
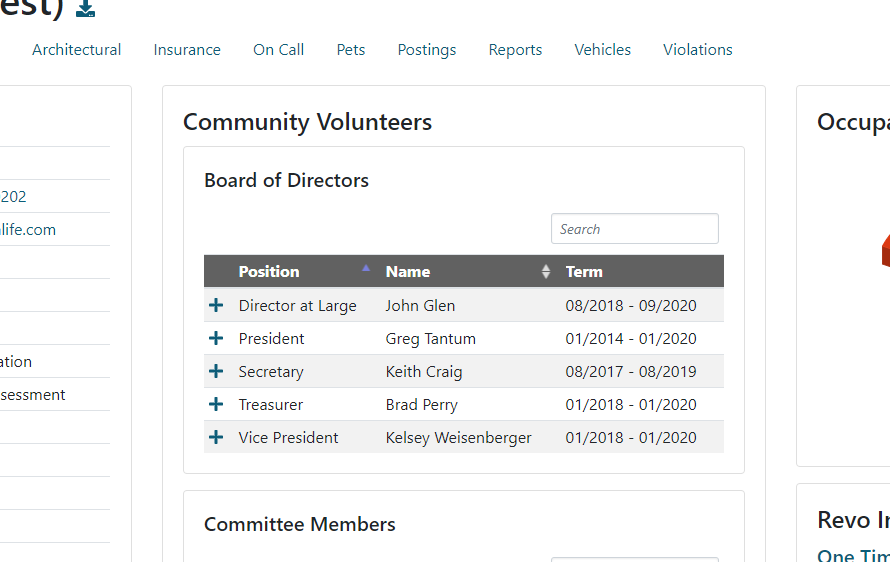
- All of the information that you have entered will appear on the Association’s Dashboard in the Management App.
- All of the information that you have entered will appear on the Association’s Dashboard in the Management App.
- Inform the Board Member that they now have Board Portal access. The next time they log in to the Resident Portal, they will have Board Portal as an option in their navigation bar.

Board Portal: Providing Access